


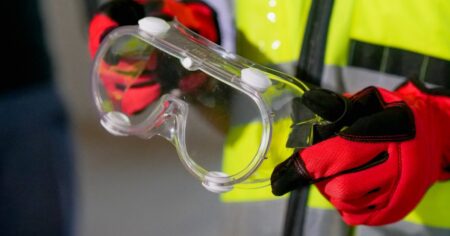
If your work or environment requires personal protective equipment, and you wear glasses, then regular ...


Choosing a tattoo is not just about the design. It’s about what that design represents, how it fits with your life, and who’s going to put it on your skin. Get it wrong, and you might be stuck with something that feels more like a mistake than a memory. So, ...
If your work or environment requires personal protective equipment, and you wear glasses, then regular ...

Planning a birthday party for a shy child requires special consideration and thoughtful preparation. While ...

There is an eternal charm to white wedding cars. They are commonly perceived as a ...

Within the mounds of items we accumulate, clutter affects not only our physical environment but ...

You’re trying to get dinner on the table, pack lunches, sign a permission slip, and ...
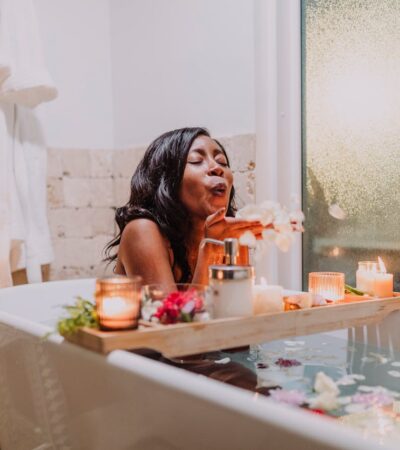
Life after kids doesn’t leave you much time—especially not for long workouts or strict diets. ...
About Us
Hello!! Welcome to Sneaky Mommies
Sneaky Mommies is a vibrant lifestyle platform that celebrates the art of modern living. It offers inspiration and ideas for parenting, home decor, food, and travel,